Animal Swapping Pain
· One min read
The Facebook game Animal Swapping has caused me much anguish in my bid to best everyone. Now, I’m only third place. It took me a long time to get there and recently I’m reminded why I don’t want to play it anymore.
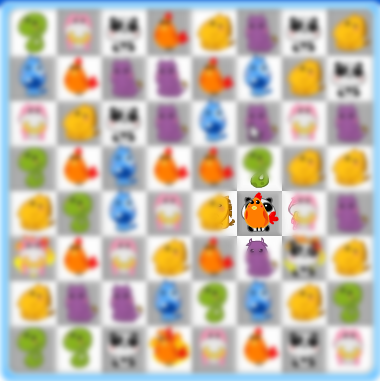
Some time into the game, I always encounter this error where two animals will overlap and that makes it difficult to solve the puzzle. I don’t know if it’s due to me using Linux, but it’s a good excuse to say why I can’t be first =P